03/30/2009- Picking up shipment from Fedex sort facility tomorrow at 8 am…Really regretting going to Lowe’s on Thursday…amp would have been done by now!
03/31/2009- It has arrived
I ordered the cabinet as Double Aged Tweed. Finish is just how i wanted it. And worth the $45 so i
didnt have to mess with doing it myself. Not to tough to age tweed, but for $45, and it arriving ready
for me to complete the amp….hard to pass up!
Back of the amp. The cab shipped fully completed with Weber 10 Sigs already installed.

The trannies were actually a LOT bigger than i thought they would be. Roughly double the size of the Mercury trannies for me BJ.


I had ordered the stock capacitors, but i decided to order ATOM and orange drops intead.


I am going to use the brass plate just as a jig for soldering. All grounds from this section (save the Presence ground) will be individually wired back to the first cathode cap ground, then then bussed to the star ground. I'm not sure if this is the most quiet options…but it sounds good in theory.
The ALPHA pots are really the way to go. Very smooth and not to expensive, but worth every penny.

All of the mounting holes for the trannies, choke, and tube sockets were punched in the perfect locations.


This is how to star grounding is going to run:

EDIT: New grounding scheme and shielded input wires explained:

In go the heater wires:
 Rectifier tube wired up
  Just hooked up the heaters and fliped the switch, sweet power!


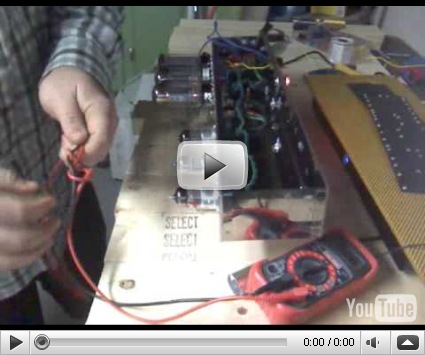
Video of testing the Power transformer and heater supplies:
Close up of the Orange Drops (716)

Getting close

The ATOM filter caps are so much bigger than other i have seen. I have never heard or seen a difference that leads me to use them, other than they look solid and well built…and that is enough for me to splurge a bit on them


You can see the eyelet terminal i put on the ground of the first cathode bypass capacitor. This will be grounded to the chassis, along with the input grounds, and seperated from the rest of the high power and preamp grounds, which are all going to tie back to the grounding point by the transformers, and then actually some of them under the transformer bolt. Not sure which configuration will be best. I am going to start with everything on one bolt, and see how it is. If it is noise i will move the preamp stage a bit away from the high powered stuff

The Board goes in!


You can see the little square at the end of the board, that is the pot that i used for the bias. turned out really well. it is one of the board mount style pots, i just drilled a few holes in the board for the leads and soldered from behind.

Quick video. Not great. I just realized after looking at the pictures that i tied my presence control ground into the preamp ground buss, which would account for the high volume hiss i was hearing.
Got my MAudio fastrack hooked up. Recorded with a strat straight into the amp, no pedals


 \
\
Switched the input wires to V1 for shielded 26 gauge wire. Doesnt look to pretty, but really brought down some floor noise.

I really should have purchased some shrink wrap!

You can see in this pic the one carbon film resistor i used. it was a 4.7M and i was having a hard time finding one in metal film. I finally ordered one and threw it in there. I used Metal film throughout the amp because they are the most quiet


Revised preamp grounding scheme:

My friend took the Super for a test drive today. Shot with a Canon Elph point and shoot digital camera and onboard mic…so funny, how much the tone comes through and sounds so good, even through the shitty camera mic.
https://taweber.powweb.com/store/kits_50a.htm#5F4
http://ampwares.com/amp.asp?id=93